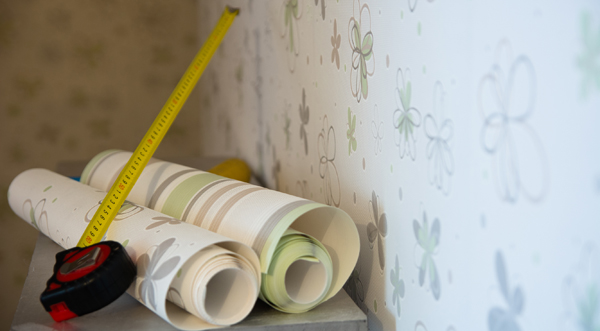
Hanging wallpaper is easier than ever with today’s consumer-friendly products.
By Diane Franklin
Over the years, consumer research has confirmed that many do-it-yourselfers steer clear of wallpaper because they think it’s too hard or messy to hang—and even more so, they dread the prospect of trying to remove the wallpaper at some point in the future. However, consumer perceptions about wallpaper are largely outdated. Today’s wallpapers are easier to hang than ever, thanks to technological advancements in both the wallpaper themselves and the adhesives used to hang them.
Technological Advancements
One of the major changes in the wallpaper industry over the last two decades is the dominance of nonwoven substrates. Nonwoven wallpapers are made of breathable material that neither expands nor contracts. The wallpaper is tear-resistant, meaning you can reposition it without fear that it will rip.
Manufacturers of non-woven wallpaper typically recommend the “paste-the-wall” method of hanging, which saves the consumer from using messy water trays or having to book the wallpaper. You bring the wallpaper to the wall while it’s still dry, meaning you don’t have to worry about dripping water on the floor.
Today’s wallpaper adhesives also are greatly improved, making it easier to hang the paper. They’ve also been formulated to be strippable, meaning homeowners won’t have to worry about the headache of wallpaper removal when they decide to redecorate.
Step-by-Step Instructions
Now that you know there is nothing to fear in hanging (and later removing) today’s nonwoven wallpapers, here is general step-by-step guide. For more precise information, refer to the instructions on the rolls of wallpaper themselves and on the label of the adhesive you are using.
1. Prep the walls. Repair any holes or imperfections with patching or spackling compound. Make sure the walls are clean and smooth before proceeding. If there is existing wallpaper, pull on an edge to see if it is dry-strippable. Otherwise, you may need to remove it using a commercial wallpaper stripper. Follow the instructions and, when all the paper is removed, sponge down the walls with clean, hot water to ensure there is no adhesive left. Prime with an appropriate wallpaper primer (your local paint and decorating store can provide the recommendation). Follow the instructions on the primer label regarding how to apply the product and how long to wait before proceeding with hanging your wallpaper.
2. Measure your walls. Measure the square footage of the room to ensure that you have ordered enough wallpaper, allowing for such factors as drop matches and overage at the baseboards and ceiling. (Google-search “How much wallpaper do I need?” for more specific instructions.) As a cushion, you may wish to order an extra double-roll of wallpaper to allow for unanticipated waste or in case you need to make a repair down the road. It’s better to do this than order extra wallpaper later, because this will ensure that all your wallpaper was printed in the same batch rather than from different batches that may have slight variations in colour.
3. Create a plumb line. This is a straight vertical line that you’ll use to line up your first piece of wallpaper. This should be a half-inch from the least conspicuous corner of the room. Create the plumb line using a carpenter’s level and drawing the line lightly with a pencil. Assuming you are wallpapering the entire room, you’ll want to create a new plumb line every time you move to a new wall.
4. Measure and cut your wallpaper. Cut your first piece of wallpaper before you paste the wall so you are ready to proceed quickly. Cut the piece so that you allow two inches at the top and bottom (a total of four inches) for trimming. Make sure that you take into account the pattern match when cutting subsequent strips of wallpaper. This may entail more waste (something you should have accounted for in Step #2 when determining the amount of wallpaper you needed).
5. Paste the wall. As mentioned, nonwovens allow you to use the “paste the wall” method to ensure a less messy and more efficient installation. Make sure the adhesive you have chosen is appropriate for nonwoven substrates. The product label or the sales associate at your local paint and decorating store should be able to guide you. If the adhesive requires mixing, follow the product instructions. Apply the adhesive to the wall with a brush or roller as directed, smoothing it out evenly in an area that is slightly wider than the first strip of wallpaper.
6. Hang the wallpaper. Using your plumb line as a guide, apply the wallpaper starting at the top of the wall and working your way downward. Wrap the wallpaper around the adjoining wall, gently pressing the strip into position until it covers the entire wall. Use a wallpaper smoother to work out any creases or air bubbles, and trim the excess paper with a straight edge and sharp utility knife.
7. Hang additional strips. Continue hanging the wallpaper by pasting the wall and positioning the strips. Make sure you cut the paper to match the previous strip, and butt the strips together without overlapping. As you go, wash off any excess paste from the wallpaper, ceiling and baseboards with a clean, wet sponge.

