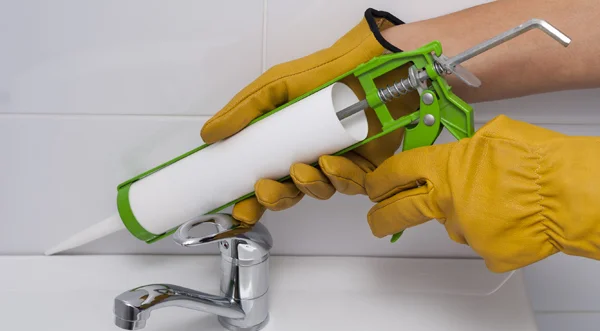
Knowing how to caulk is an important consideration for many DIY projects.
By Diane Franklin
Caulking may seem like a basic do-it-yourself project, but it’s not always as easy as it looks. Here are some important tips to follow when purchasing and using caulk products to ensure that the final results provide a great-looking finishing touch for your next DIY project.
Select the Right Caulk
If you walk into a paint store and are confused by the myriad of choices available in the caulk aisle, it’s certainly understandable. There are so many different types of caulks—general purpose, kitchen and bath, window and door caulk, masonry and concrete, siding, interior, exterior, etc.— that you may conclude that you need a degree in “caulkology” to make the right choice.
Fortunately, your paint store has knowledgeable salespeople who can guide you to the right choice based on the parameters of your project. But as a general rule, keep the following guidelines in mind.
If you are caulking the bathroom, you can’t go wrong selecting a caulk that says, “kitchen and bath” on the label. Similarly, your window caulking project will be on the right track if you gravitate to the product label that reads, “window and door.” But you may be wondering: Is it okay to select a general-purpose caulk if I want to caulk around my tub as well as around my windows in the living room?
Your best bet is to buy the caulk for the specialty task at hand because it will have properties that will help ensure the longevity of your caulk. For instance, a bathroom caulk is mildew-resistant and can be exposed to water in a relatively short period of time. A window and door caulk won’t shrink or crack when exposed to variations in temperature.
While you can use general-purpose caulks in these circumstances as well, they are best-suited for such jobs as caulking around baseboards, wood trim and other jobs where moisture penetration and temperature fluctuation are not issues.
Another consideration is deciding what formulation is best for your caulk. For most household projects, that means making a choice between a latex and silicone caulk. Acrylic latexes are becoming more popular in the market, not only because of ease of use but because they are more environmentally friendly as well.
Homeowners most likely will be better off with a latex caulk, since it works on both porous and nonporous surfaces, is easy to apply, has minimal odor, can be painted and cleans up easily with soap and water. However, in those specific circumstances in which you need to caulk nonporous surfaces with gaps that could possibly expand and contract while also holding up to extreme temperatures, you’ll likely want the flexibility of a silicone caulk—even though you will have to deal with more odor, and the caulk is more difficult to apply and clean up.
You also may wish to consider whether the caulk is paintable. Latex caulks as well as water-based silicone typically will allow you to paint over them. Make sure you read the label to verify their paintability and how long you will need the caulk to cure before proceeding.
Select a Caulk Gun
If you purchase a caulk cartridge, you will need a quality caulk gun to do the job right. Don’t be tempted to go for a cheaper gun. For a few dollars more, you can have a caulk gun with some important features that will make your job easier and provide you with a smooth, continuous bead of caulk for a nicer end result.
Many of the better guns have a feature that will stop the caulk from dripping when the trigger is released. Known variably (based on the brand) as Dripless, Drip-Free or No-Drip caulk guns, this feature will ensure a neater job. Better-quality guns also have higher thrust ratios that make them easier to operate, a durable yet lightweight construction and a more comfortable grip.
Tips for a Great Caulk Job
Make a clean cut on the caulk cartridge. You can use a utility knife or use the spout cutter found on many caulk guns to cut the caulk tip. Cut the tip at an angle to coincide with the size of the gap that you are filling.
Use the right amount of material. Make sure you use enough to fill the gap but not too much so that it ruins the appearance of your caulk line.
Caulk in small sections. Experts recommend about 2 to 4 feet. If you do too much at a time, the caulk can get tacky.
Make a straight line. To ensure a straight caulk line, you may want to place painter’s tape on either side of the gap you are filling.
Smooth the caulk. There are smoothing tools to achieve this, but many experts agree that nothing beats your own finger for achieving a smooth final look. Dip your finger in warm water before smoothing the bead.
Follow these tips, and you’ll wind up with a quality-looking caulk job. If you have any questions about how to use a caulk, always read the label—and check with your local paint store for the best advice.

